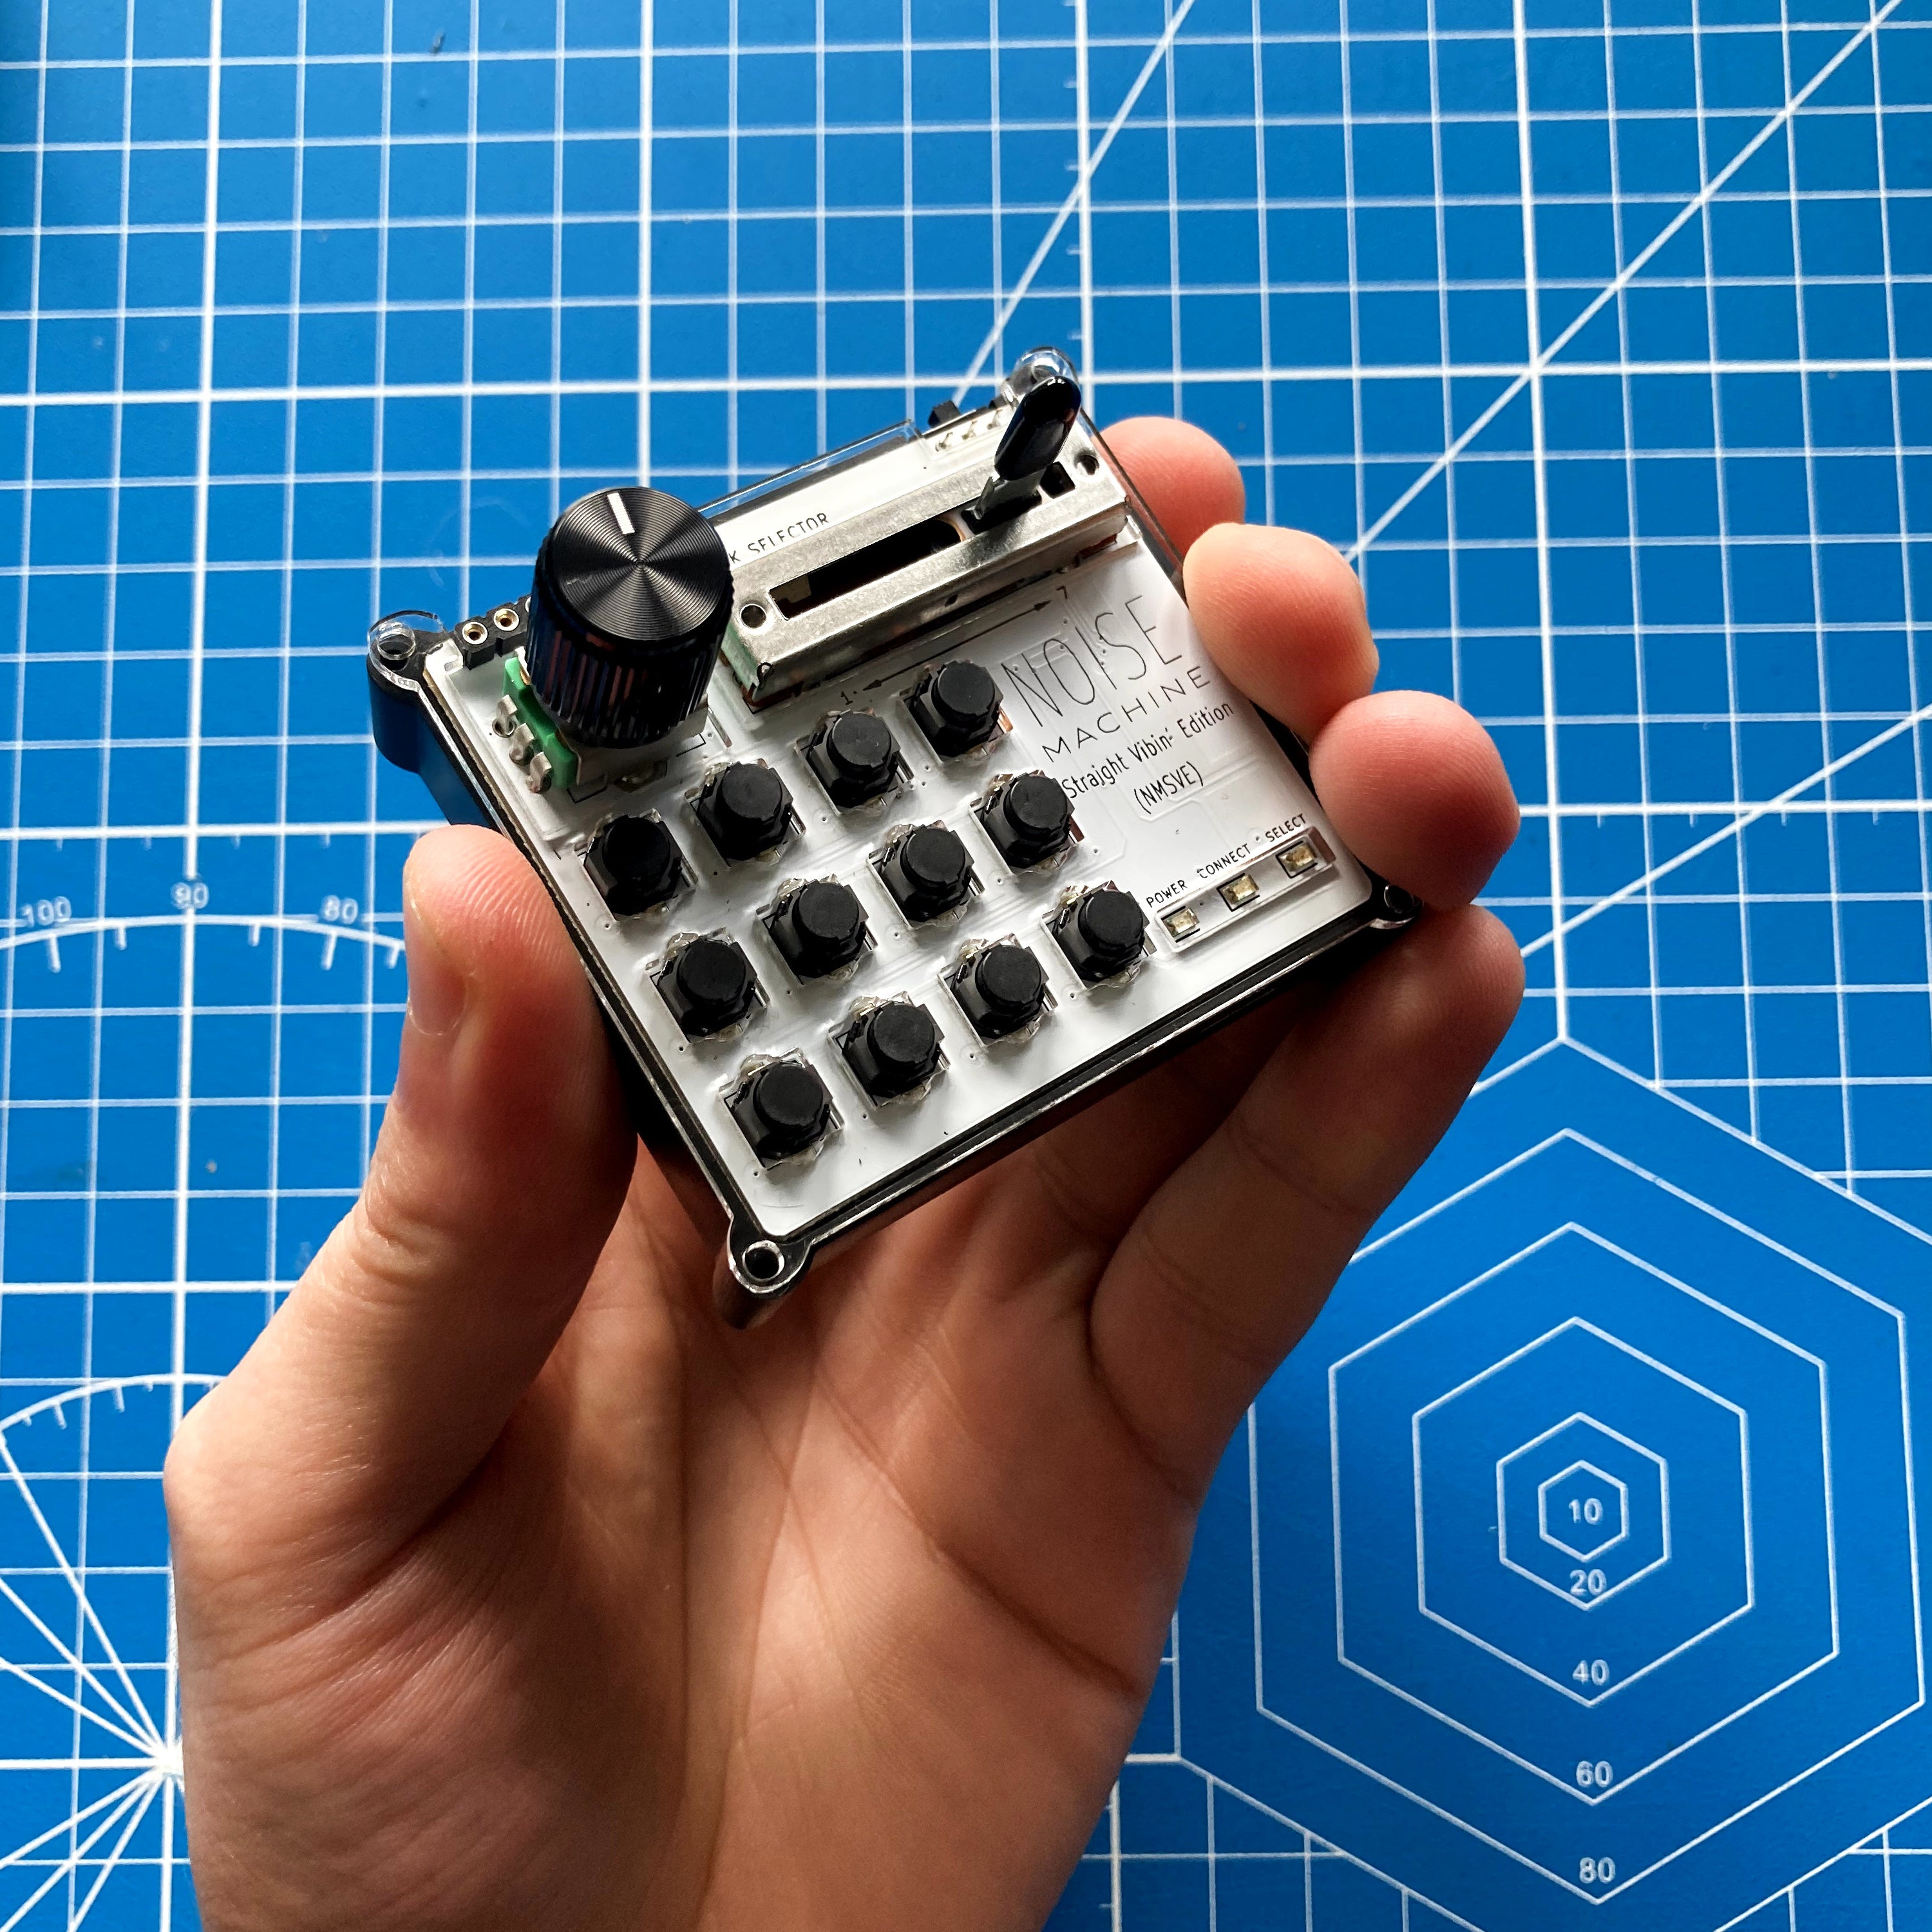
NMSVE DIY Kit Walkthrough
Build your own NMSVE DIY Kit in 10 simple steps! 🔧
Parts
After opening the box please ensure you have the following parts:
1x NMSVE PCB
1x Plastic casing
1x Acrylic faceplate
1x Allen key
1x Battery
1x Battery module
1x Wire harness
4x Screws
4x Silicone feet
1x Light tube
If you're missing any of these please contact us immediately and we will ship the missing parts.
Tools Needed
You will also need the following tools handy to complete the build:
1x Soldering iron
1x Solder
1x Wire cutters
Step 1
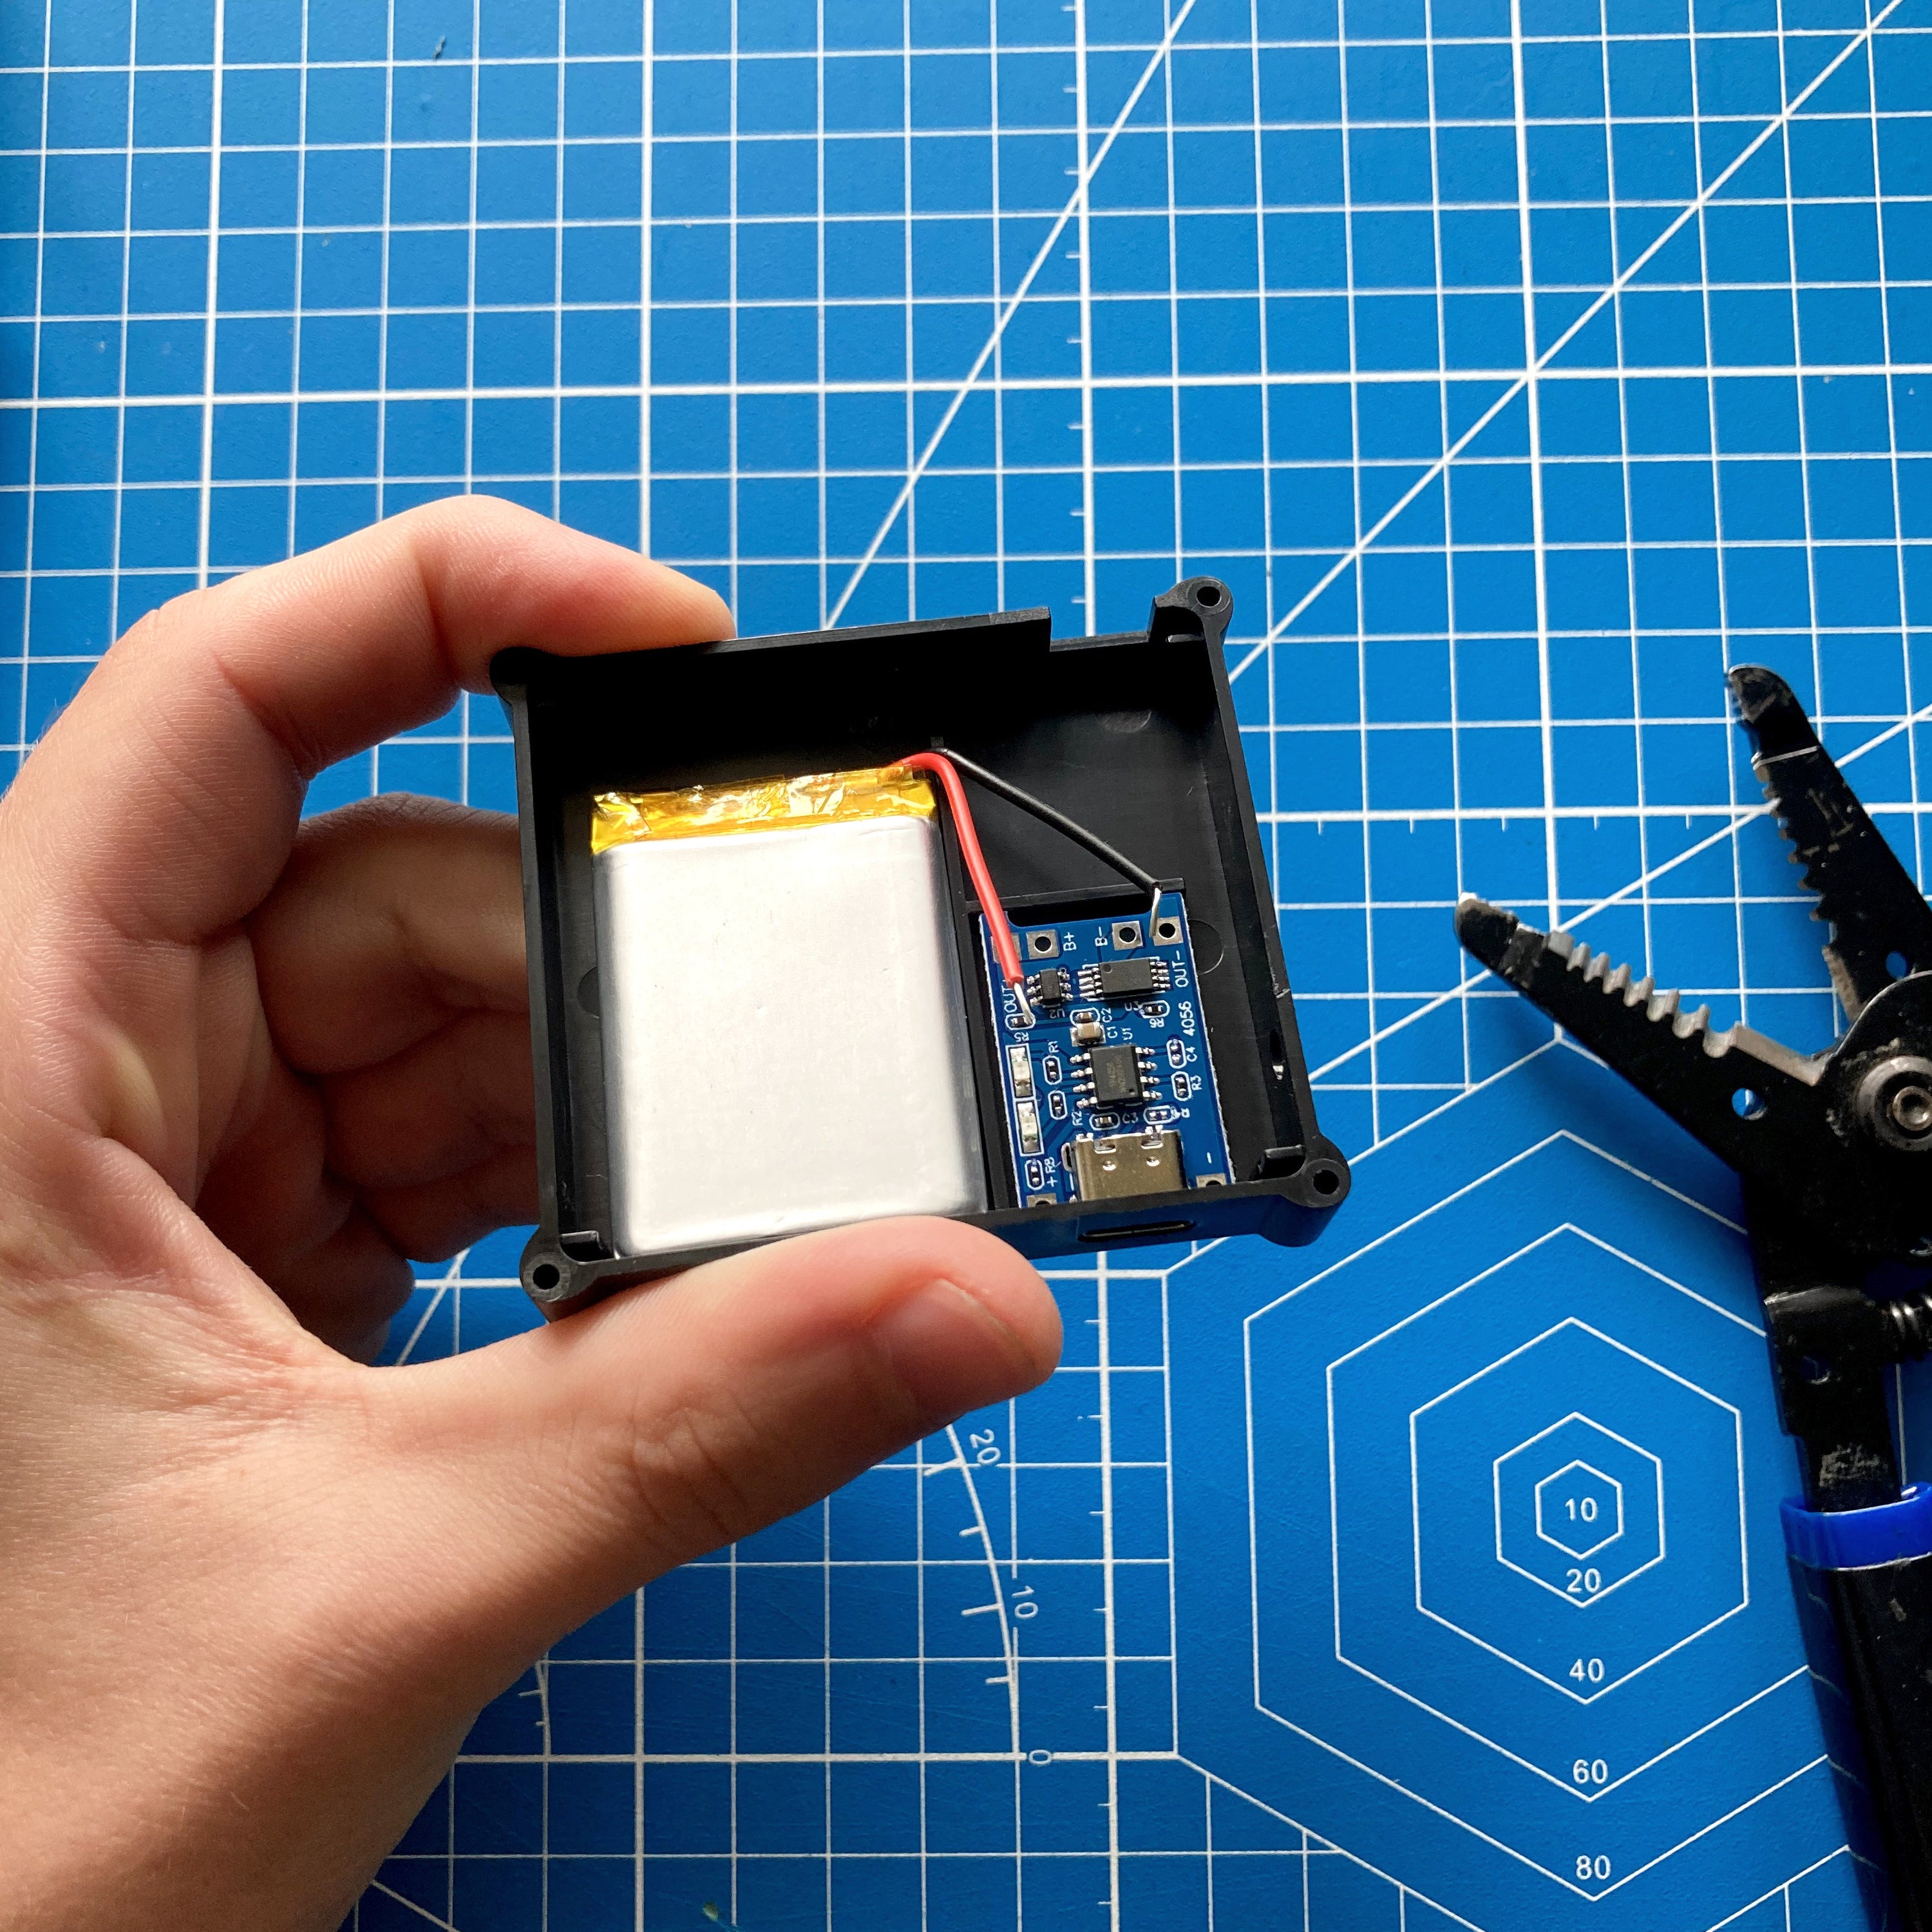
Start by peeling the adhesive strips on the battery and battery module. These will go in the casing, with the battery going in the space on the left (wires facing up) and the battery module going in the space on the right.
Hold these in place for about 30 seconds to ensure a secure stick.

Step 2
You'll now want to get your wire cutters and cut the battery wires to the correct size. In the next step you'll be soldering them to the holes on the battery module, so it helps to cut them a little longer than needed to give yourself some extra room for error.
After cutting them to size, strip the ends.
⚠️ Caution: Try to keep the positive and negative ends of the wire from touching as they will spark and could damage the battery (and give you a little shock 😵💫)

Step 3
Next is the fun part: soldering!
⚠️ Caution: Soldering irons and solder get REALLY hot. Please be careful.
- Take the black wire (-) of the battery and put it into the hole labelled "B-" on the battery module. Solder.
- Take the red wire (+) of the battery and put it into the hole labelled "B+" on the battery module. Solder.
- Take the black wire (-) of the wire harness and put it into the hole labelled "OUT-" on the battery module. Solder.
- Take the red wire (+) of the wire harness and put it into the hole labelled "OUT+" on the battery module. Solder.
Inspect your solder joints to ensure they're secure and there's no bridging. This helps to make sure you don't need to repeat this step again after the build.

Step 4
With the hard part out of the way we can move on to the easy stuff!
Connect the end of the wire harness to the port on the back of the PCB.

Step 5
Place the PCB in the casing.

Step 6
Put the faceplate on top of the PCB, lining it up with the holes.

Step 7
Using the allen key, screw in the 4 screws on top of the acrylic plate.
Make sure you don't over tighten as this could crack the acrylic faceplate in the process.

Step 8
Insert the light tube in the hole on the side of the casing.

Step 9
Flip the casing around and stick the 4 silicone feet on the bottom corners.

Step 10
Just like that, you're done! 🎉
Hit the switch at the top of the PCB and NMSVE should turn on. If it doesn't, this is most likely due to the solder joints being loose or bridging. In that case you'll need to tear it down and repeat step 3.
Now you can move on to the manual and begin your portable music making journey ✨

